
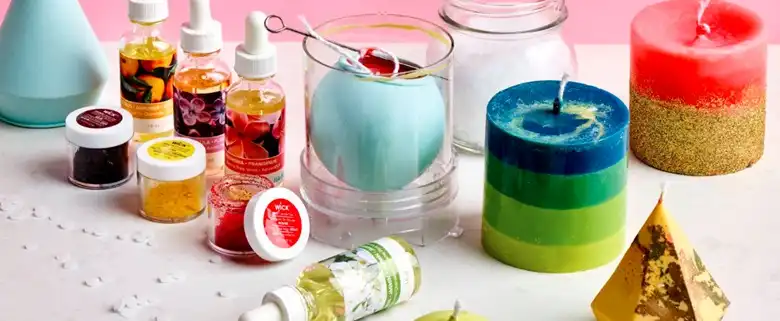
Candle-making has become a popular craft, allowing creators to express their creativity through designing and coloring their own wax works of art. Plain white candles can serve as the perfect canvas for experimenting with dazzling colors, textures, and designs. One creative way candle makers have personalized their candles is through the use of inks.
And when it comes to coloring their candles, people often wonder, if they can use alcohol ink to do it. The answer is yes. Read on to find out what are the pros and cons of doing it and how to do it properly.
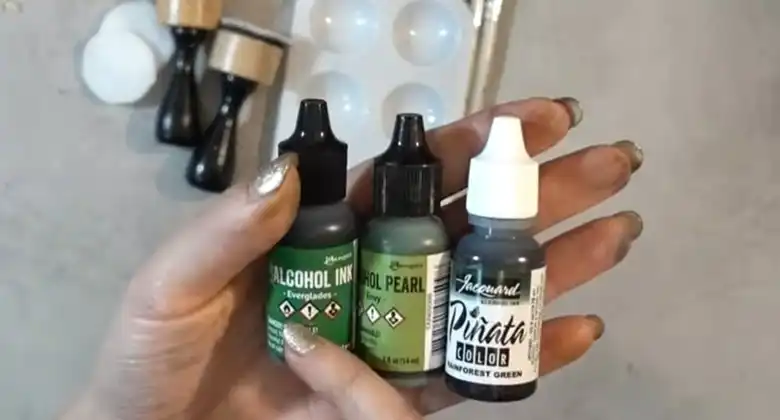
What is Alcohol Ink?
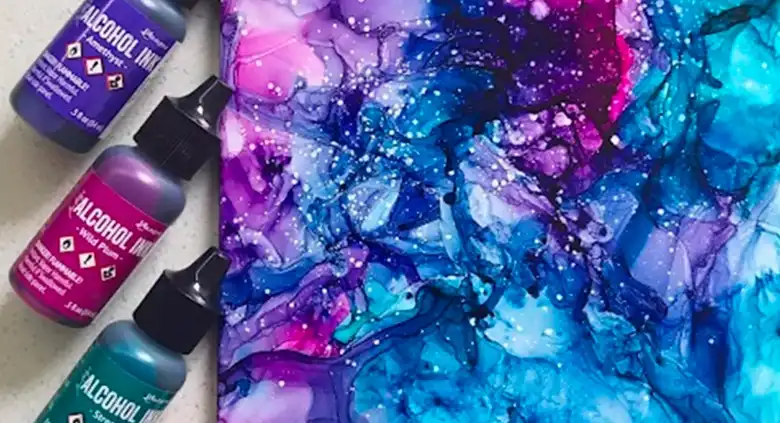
Alcohol inks have become increasingly popular in recent years for their vivid colors and ability to create stunning designs on non-porous surfaces. These inks contain alcohol solvents that quickly evaporate, leaving the pigment behind on the surface. Candlemaking has also grown as a craft, with candle enthusiasts experimenting with different waxes and techniques to create unique candles. Many artists have started exploring the use of alcohol inks to decorate the outer surface of candles, adding an extra level of creativity.
Can You Use Alcohol Inks in Candles?
Alcohol inks can be used to decorate the outer surface of candles, but cannot be directly mixed into the wax itself. When added to melted wax, the inks will likely bleed, bloom, and migrate upwards as the candle burns. This causes an uneven finish. It is only safe to apply alcohol inks onto the finished outer surface of a candle. The ink will evaporate, leaving the pigment to adhere to the wax.

Pros and Cons of Alcohol Inks on Candles
| Pros | Cons |
| Vibrant, intense colors | Some colors may fade or bleed when burned |
| Unique effects like marbling, swirling, layering | Need to seal finished design with acrylic spray |
| Easy to apply with droppers, brushes, sponges | Strong odor during application |
| Dries quickly and adheres well to wax | Not scratch-resistant, delicate finish |
| Wide range available – glitter, neon, metallic |
How to Use Alcohol Inks on Candles: Step-By-Step
Follow these steps for best results when using alcohol inks to decorate candles:
1. Prepare Your Workspace
Cover your work surface with paper towels, newspaper, or wax paper. Ventilate the area, open windows and use a fan. Wear gloves to protect your hands. Have paper towels and q-tips handy.
2. Choose Your Inks
Select a color palette of alcohol inks intended for use on candles. Avoid standard art-grade inks. Opt for lightfast, non-bleeding colors. Metallic and glitter inks add nice accents.
3. Prep the Candle Surface
Ensure your candle is clean and dry. Remove any dust or debris. Cooler wax will allow more intricate designs. Have cotton swabs available to quickly clean up any mistakes.
4. Experiment on Scrap Wax
Test your inks on leftover wax pieces to see how they interact and blend together. This allows you to troubleshoot before decorating the actual candle.
5. Apply the Inks
Use droppers, brushes, sponges and swabs to apply the inks in your desired design. Work in thin layers, allowing drying time between applications.
6. Let Completely Dry
It may take 24-48 hours for the inks to fully cure and adhere to the wax surface. Avoid touching or disturbing the candle during this time.
7. Seal the Design
Once dried, spray the finished candle with an acrylic sealer to protect the design and help prevent fading. Allow to dry completely before burning.
8. Display Your Creation
Show off your artistic alcohol ink candles! The vivid colors and swirling patterns are guaranteed to spark conversation.
Pro Tips for Candle Making and Coloring
- Use blending solution for smooth color blending
- Metallic inks add a nice shimmer
- Keep some areas white for contrast
- A heat gun can help spread and mix colors
- Work in thin layers to build up depth
- Clean up mistakes right away with a Q-tip and alcohol
Alternatives to Alcohol Inks
If you want to avoid the challenges of alcohol inks, consider these options:
- Candle dyes specifically formulated to color wax
- Crayons or oil pastels for color effects
- Powdered pigments mixed into the wax
- Herbs, fruits, and spices to add scent and subtle hues
FAQs About Using Alcohol Inks on Candles
What kinds of wax work best for alcohol ink designs?
The smoothest results come from using paraffin, soy, or other pillar candles with a smooth exterior. Avoid wax with texture or imperfections.
What types of alcohol inks should be avoided?
Avoid standard art-grade inks not formulated for high heat. Use inks specifically made for candle wax to prevent fading, bleeding, and blooming.
How long does it take for alcohol inks to dry on candles?
It typically takes 24-48 hours for alcohol inks to completely dry and cure on a candle surface. Avoid disturbing the candle while drying.
Do I need to seal my alcohol ink candle design?
Yes, it’s highly recommended to apply a clear acrylic sealer spray to protect the finish and prevent fading when the candle is burned.
Can I layer multiple colors of alcohol inks?
Yes, layering different ink colors creates depth and dimension. Allow each layer to fully dry before adding the next color.
What if the ink bleeds or smears outside the design?
Use a cotton swab dipped in alcohol to immediately clean up any drips or mistakes before they dry.
How do I get a smooth blended look with the inks?
Use an alcohol ink blending solution on a brush or cotton swab to softly blur the edges between colors.
Can I add glitter or other embellishments?
Yes, you can apply fine glitter or other decorations like beads, sequins, etc. after the ink is fully dry.
Conclusion
Alcohol inks allow for stunning creativity when decorating plain candles. With some practice and preparation, you can produce beautiful marbled, layered, and shimmering designs to make your candles true works of art. The finished candles also make wonderful handmade gifts. Be sure to share photos of your alcohol ink candle creations!